The DPHuser wireless network is accessible at the ZSFG main campus, this wireless network eventually will replace UCSF-Clinical. This wireless network provides encrypted access to DPH clinical systems, UCSF network resources, and the Internet. This network is restricted to clinicians and staff with valid UCSF or DPH Active Directory accounts. Instructions to configure devices to connect to this wireless network can be found below for both limited and full access.
Limited Access
Granted when using Active Directory user credentials to some DPH clinical resources via Citrix/VDI (VMware Horizon) client only. Instructions on connecting to DPHuser with limited access (user-authentication) can be found here.
Full Access
Full access to the DPH clinical network is automatic (in most cases) when connecting from UCSF AD bound Windows devices configured at ZSFG. Instructions on connecting to DPHuser with full access (computer-authentication) can be found here.
Limited Access (User- Authentication) Instructions:
Click the link below to configure devices to connect to the Department of Public Health DPHUser wireless network with limited access.
Instructions for connecting Android devices:
Due to varying Android manufacturers and versions of the software, your interface may look different than the screen shots presented here. Below is an overview of the steps necessary to configure Android for DPHuser.
Note: Many third-party Wi-Fi manager apps and homescreen widgets do not support the enterprise-level authentication method required to connect to DPHuser. Please configure your DPHuser connection directly from the Android Settings as outlined below.
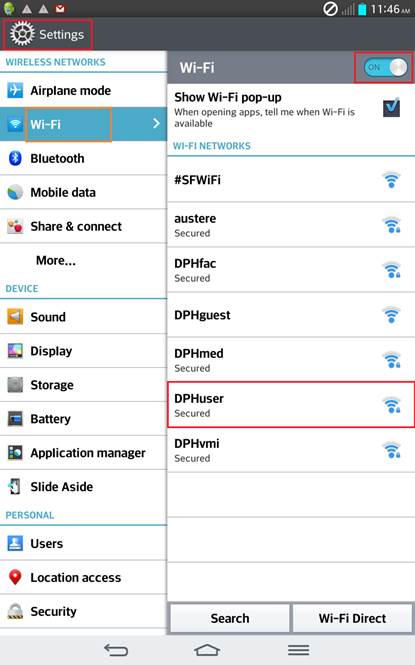
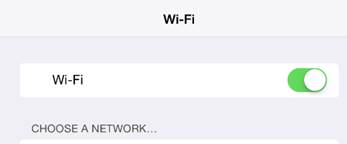
- Verify Wi-Fi is enabled on the Android device.
- Click on Settings, then click on Wi-Fi.
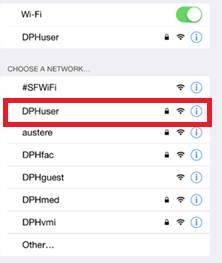
- Click on the DPHuser Wi-Fi network.
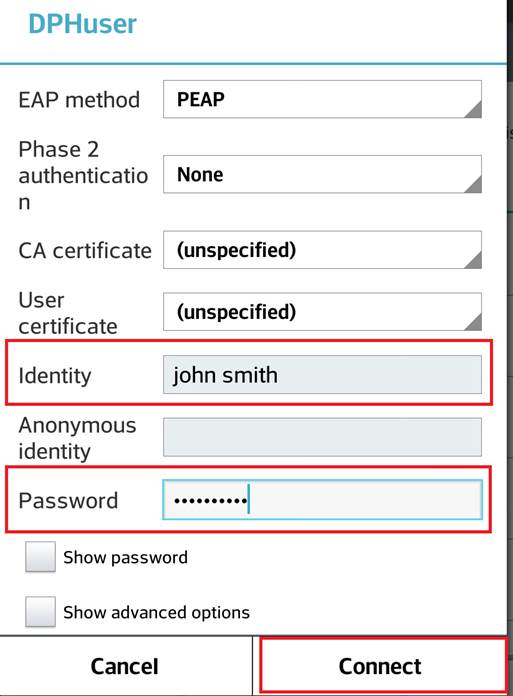
- At the DPHuser screen, enter your Active Directory user name for Identity and your Active Directory password for Password. Leave the other fields as default. Click on Connect.
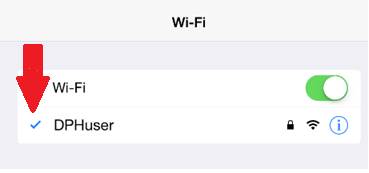
- You should now show as connected.
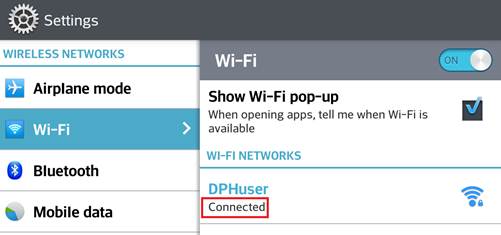
- If you click on DPHuser, you should see your connection status and IP address.
Instructions for connecting Apple iPhone or iPad devices:
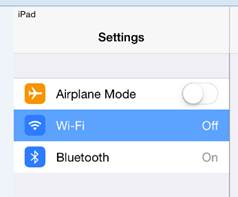
- To begin the set up procedure click on the “Settings” icon on your iOS desktop

- At the top left corner of Settings, click on “Wi-Fi” and set the radio button to “On.”
- You will see the list of network IDs broadcast in your area. Click on “DPHuser.”
- Enter your Active Directory credentials.

- You will be prompted to accept a certificate to be allowed on the network.

- If the user name/password was entered correctly and the certificate accepted, you should see a blue check mark next to the “DPHuser” network which means you have successfully connected.
Instructions for connecting Mac OSX devices:
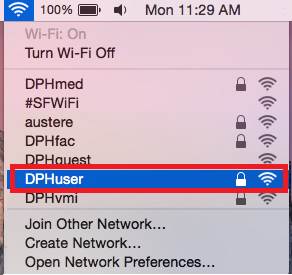
- Click on the wireless icon on the top right corner of the screen. If the wireless icon is showing as off, make sure to turn it on. Select DPHuser.
- It will prompt you for your username and password. UCSF users enter in your UCSF Active Directory credentials. For DPH users please use your DPH Active Directory credentials.
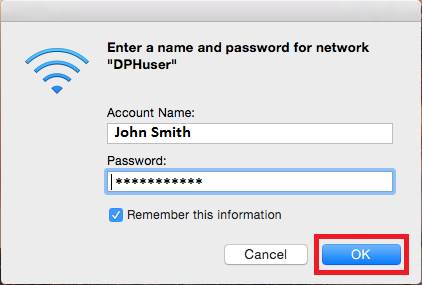
- If you are prompted with a window to view/verify certificate, click the continue button and Accept the certificate.

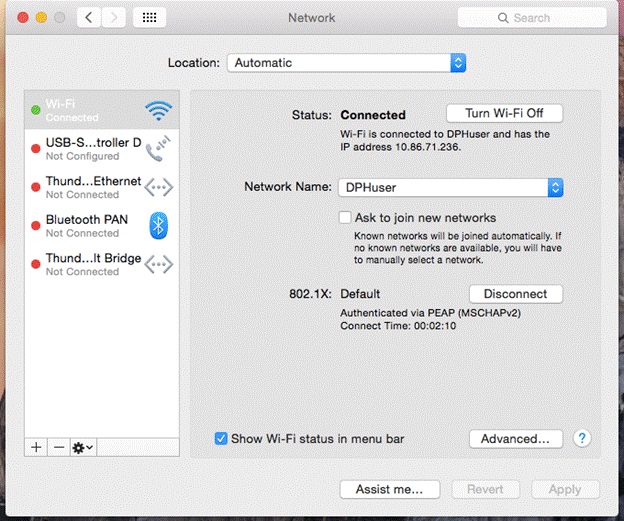
- To verify that you are connected to the DPHuser network:
a. Click on the Apple Icon on the top left corner of the screen.
b. Select system preferences and click on network.
c. On the left hand side click on Wi-Fi. On the right hand side you should see it as connected to DPHuser.
Instructions for connecting Windows 7:
- Verify the wireless card on your laptop is enabled and active.
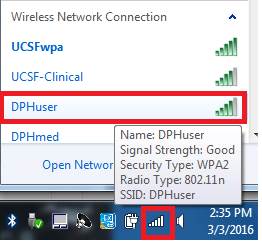
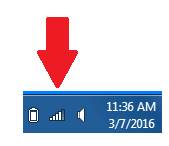
- Click on the Wireless icon in the taskbar.

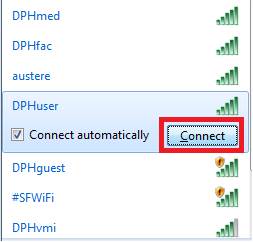
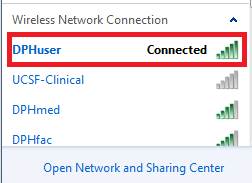
- When the list of available wireless network is displayed, click on DPHuser then on Connect.
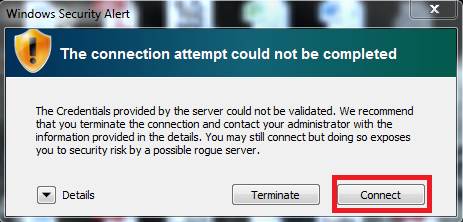
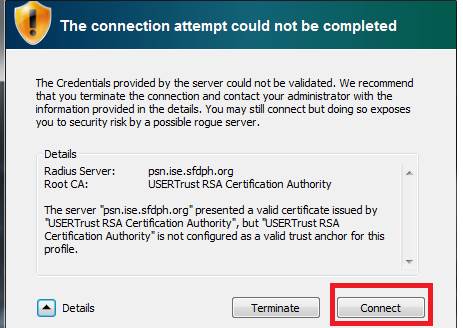
- If prompted for a Windows Security Alert, click on Connect.
- If your device is already joined to one of the UCSF domains (SOM, CAMPUS or MedCenter) or has been issued a device certificate by ITSF_SFGH and you use your domain credentials to login to the device, it should automatically connect to the DPHuser network.
Note: This step can take a few minutes the first time you connect.
- If your device is not joined to the UCSF or DPH domain, you will be prompted to enter in active directory (AD) credentials.

- Once you successfully connect, your wireless icon should show the signal strength.
Instructions for connecting Windows 8:
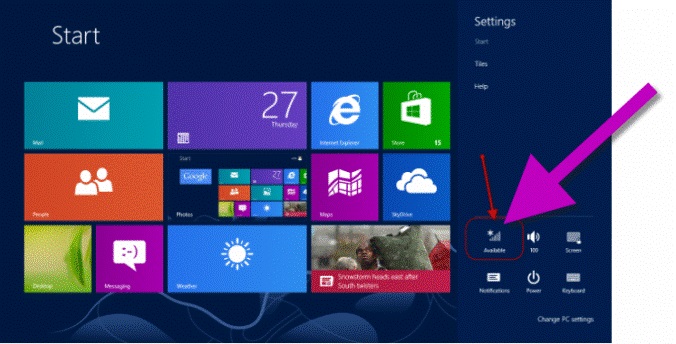
- Press the Windows key + C and click "Settings" and that should bring up the Windows Charm menu to the right of the screen.
Note: The Windows key on your keyboard looks like this
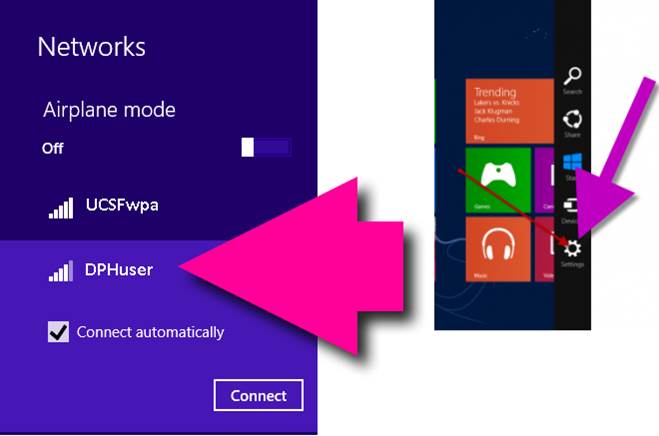
- Click the wireless radio icon.
- Click "DPHuser" from the list of available networks.
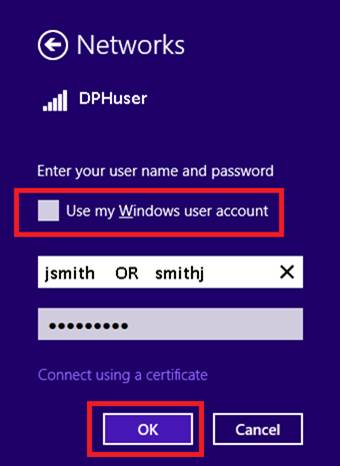
- If your device is already joined to one of the UCSF domains (SOM, CAMPUS or MedCenter) or has been issued a device certificate by ITSF_SFGH and you use your domain credentials to login to the device, Check the “Use my Windows user account” and it should automatically try to connect to the DPHuser wireless network at this point.
- Otherwise when prompted for credentials enter your Active Directory username and password. If you don’t know your Active Directory username, contact us for help.
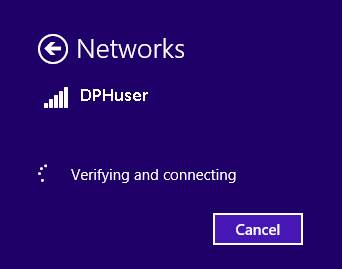
Note: This step can take a few minutes the first time you connect.
- You will then see "verifying and connecting."
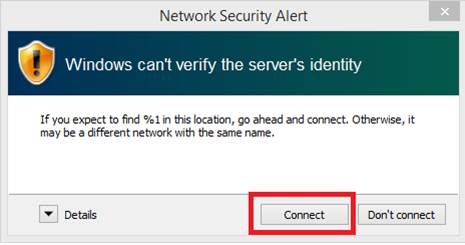
- Click "Connect" when you see the Network Security Alert message.
Note: This window may be hidden behind other windows and opened programs. If you do not see this message, click Windows key + D (which should minimize all your windows) and expose the Desktop.
- Your device should now be connected to the DPHuser wireless network. If you hover over your wireless icon you should see connected to DPHuser and signal strength information.
Instructions for connecting Windows 10:
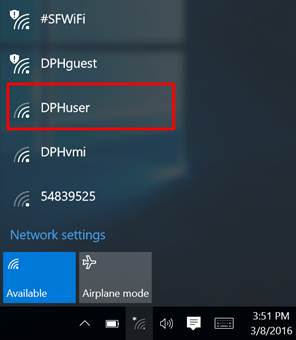
- Click or tap the network icon from the system tray to list the available wireless networks.

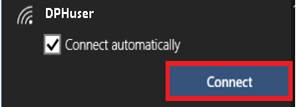
- Click or tap on DPHuser. Check Connect Automatically.
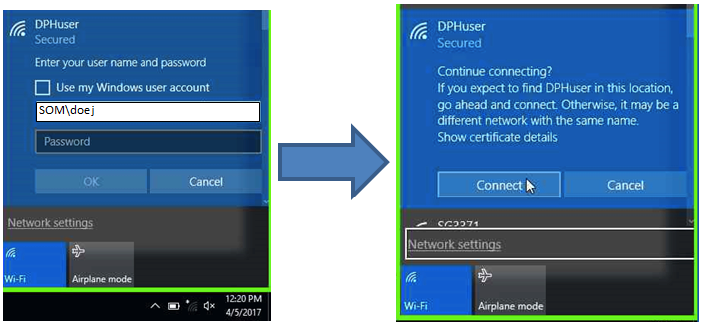
- The authentication window will appear and prompt you for your credentials. If your device is already joined to one of the UCSF domains (SOM, CAMPUS or UCSFMC) and you use your domain credentials to login to the device, check the “Use my Windows user account” option and click on OK to automatically connect to the DPHuser network. Otherwise enter you Active Directory credentials and click on OK.

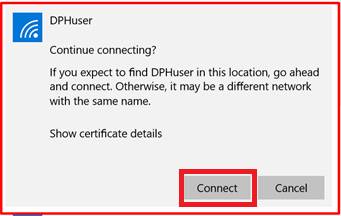
- Click on Connect when prompted at the Continue connecting prompt.
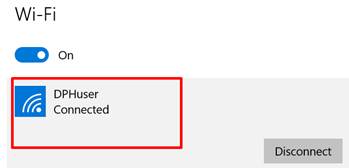
- You are now connected to the DPHUser Network.
Instructions for Connecting other Platforms:
Many different manufacturers create custom interfaces for connecting to wireless networks, please refer to the product specific documentation for instructions on how to configure the DPHuser wireless network.
| Network SSID: | DPHUser |
| Security: | 802.1x EAP |
| EAP Method: | PEAP |
| Phase 2 Authentication: | MSCHAPV2 |
| CA Cert/User Cert: | AddTrust External CA Root |
| Identity: | Your Active Directory username |
| Password: | Your Active Directory password |
Note: In case your operating system is missing the AddTrust External Root certificate, you can download it for free from the Comodo Knowledge Base.
Back to top
Support:
Users needing more information or assistance may contact the IT Service Desk at http://help.ucsf.edu or by calling 415-206-5126.
Full Access (Computer- Authentication) Instructions:
Click the link below to configure devices to connect to the Department of Public Health DPHUser wireless network with full access.
Note: Your computer must be bound to a UCSF domain and be managed by UCSF IT to be granted full access.
- Windows 7
- Windows 10
- Mac (OSX)
- Mobile Devices- Currently not supported on wireless connections
Instructions for connecting Windows 7 with Full Access (Computer-Authentication):
- Connect to the DPHuser SSID and enter your domain credentials when prompted.
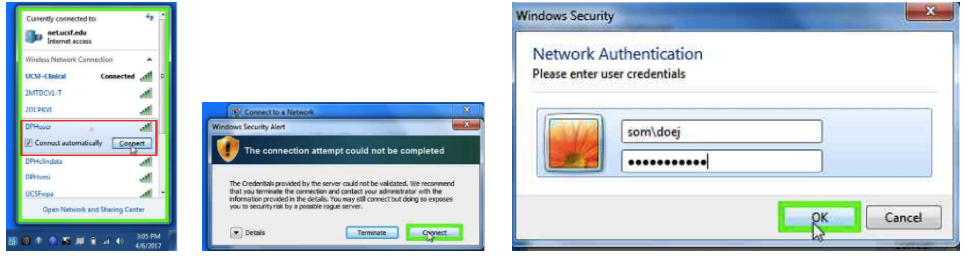
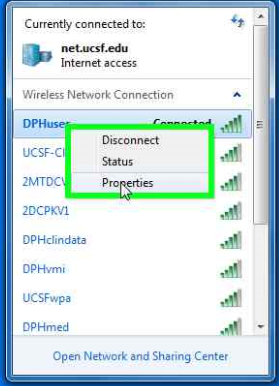
- Now that you are connected to the DPHuser network, right click on "DPHuser" and select properties.
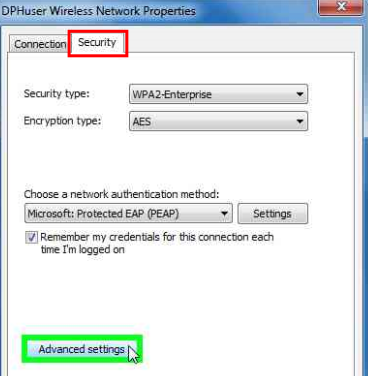
- Click "Advanced Settings" in the "Security" tab of "DPHuser Wireless Network Properties" window.
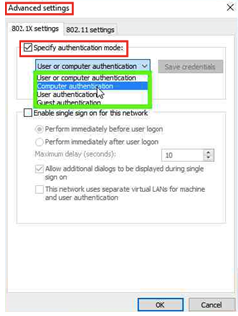
- Select "Computer Authentication" in the Authentication Mode dropdown and click OK.

- Click OK to close the “DPHuser Wireless Network Properties”. At this point you may notice that your connection will drop, and re-establish itself with the new computer authentication settings.
Instructions for connecting Windows 10 with Full Access (Computer-Authentication):
- Connect to DPHuser SSID with your UC credentials and click “Connect” on the following prompt:
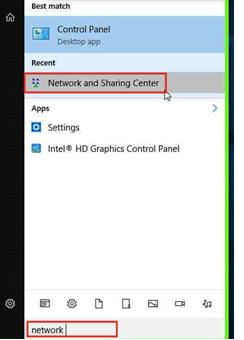
- Once you are connected to the DPHuser network we can edit the connection settings. To do this search for “Network and sharing center” at the start menu, and click on the network and sharing center icon:
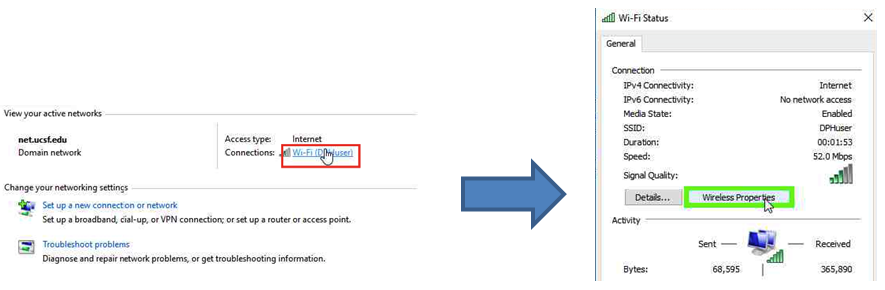
- Click the “Wifi (DPHuser)” connection> Select “Wireless Properties” in the newly opened “Wifi Status” windows.
- On the resulting “DPH Wireless Network Properties” window navigate to the “Security Tab”> Click on “Advanced Settings.”
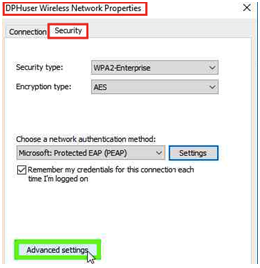
- In the “Advanced Settings” window change the “Specify Authentication Mode” dropdown to “Computer Authentication”. Then click OK to close the “Advanced Settings.”
- Click OK to close the “DPHuser Wireless Network Properties”. At this point you may notice that your connection will drop, and re-establish itself with the new computer authentication settings. You may also have to click “Connect” once again on the following prompt in order to connect to the DPHuser network.

Instructions for connecting Mac (OSX) with Full Access (Computer-Authentication):
Computer authentication settings on OSX must be applied by installing a configuration profile. Follow the steps below to install the computer authentication configuration profile.
- Verify the computer is bound to a UCSF domain
- System preferences>Users & Groups> Login Options> CAMPUS/SOM should be listed under "Network Account Server".
- Write down the Computer ID hostname and make sure it matches the computer name in System preferences>Sharing. If not, change the name by clicking Edit. The name will look like: computername.local
- If it is not listed, click the lock on the bottom>enter admin credentials>Click join> enter required info> click OK.
- Again, you will need to make sure the computer names/ID match in the Sharing and the Directory Utility>Active Directory windows.
- Download and install http://sfghdean.ucsf.edu/networkconfigurationprofiles/OSX/DPHuser_full_wifi.mobileconfig.
- This link will only work while connected to the UCSF/ZSFG network
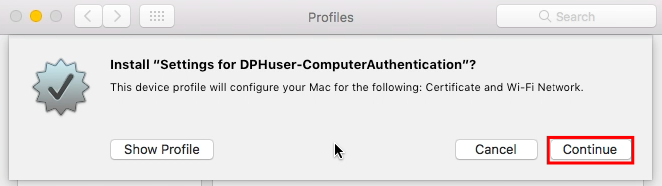
- Double click the file to launch the profile installer >Click Continue
- Note: by default OSX will save files in your profile's "Downloads" folder.
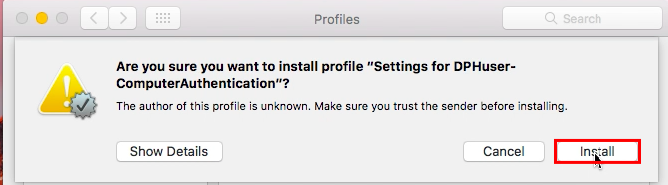
4. Click Install> enter your administrator password for your computer> Click OK

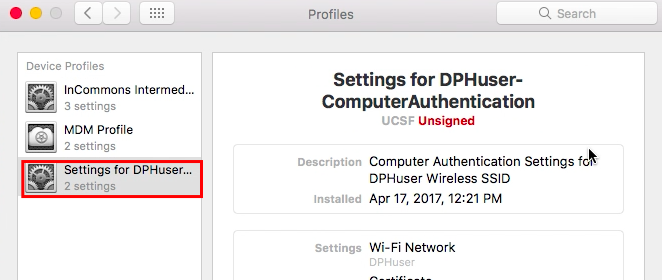
- Once installed you will see the installed profile listed in the "Profiles" System Preferences window
5. Restart the computer and log back for the changes to apply. DO NOT SKIP THIS STEP. The settings will not be applied until after restarting.
To verify that the DPHuser Profile is installed on a computer follow one of the following:
- System Preferences>Profiles (as shown above)
- System Preferences>Network>Wi-Fi>Advanced>802.1X. "Wi-Fi (DPHuser)" should be listed on the left pane.
- System Preferences>Network>Wi-Fi. Below the "Network Name" dropdown you should see "802.1X: WiFi (DPHuser)".
Support:
Users needing more information or assistance may contact the IT Service Desk or by call (415) 206-5126.